We are pleased to announce the release of mooSocial 3.1.7. The 3.1.7 version comes with improvements contributed by members of the moosocial community site and addresses a lot of found bugs from the previous version.
Improvements:
- Added a new settings into the settings page to allow the admin to hide the “Delete my account” option from edit profile page.
- Allowed to upload image/webp file type at newsfeed
- Default map api changed to Openstreetmap
- Setup guide for the admin section that lists all important tips that admin should read when first using mooSocial. Setup guide can be accessed in admin panel or at front end (mini menu)
- Can upload and install plugins in AdminCP: in this version you can upload a plugin package and install it by yourself in the admin panel -> Plugin manager -> Upload addon.
- Can share tikok video link at newsfeed
- Don’t show payment gateway if it does not support “trial + recurring” type package to avoid payment issue
- Tested with mysql 8
- Loading speed optimizations
- Disable email sending when adding a member as friend to avoid spam issue.
- When adding/editing a custom field, admin can have option to hide/show profile field from info tab at member profile page
- HTML block: can translate content inside the block
- Allowed to embed html and javascript code into content of page in “Pages manager” plugin
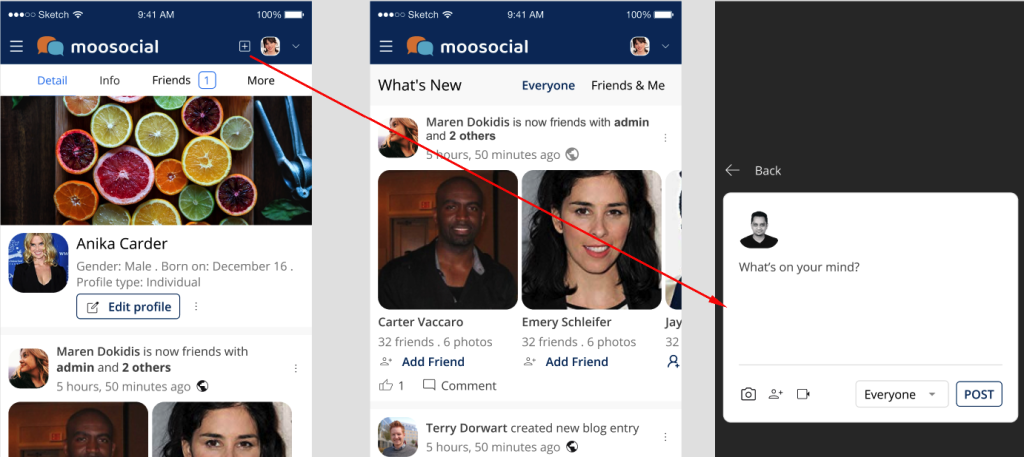
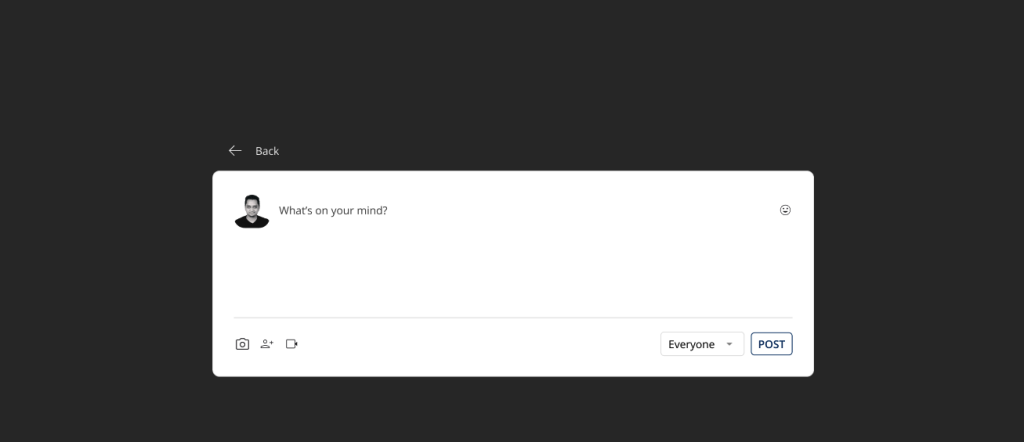
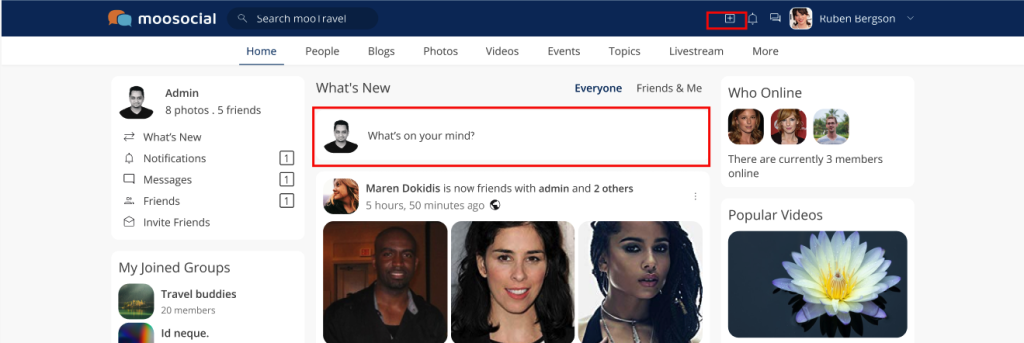
- Now, you can copy and paste photo into “what’s new” box
- Added “Send test email” into “manage mail template” for you to preview the email after editing the content
- Allowed to upload gif photo into album
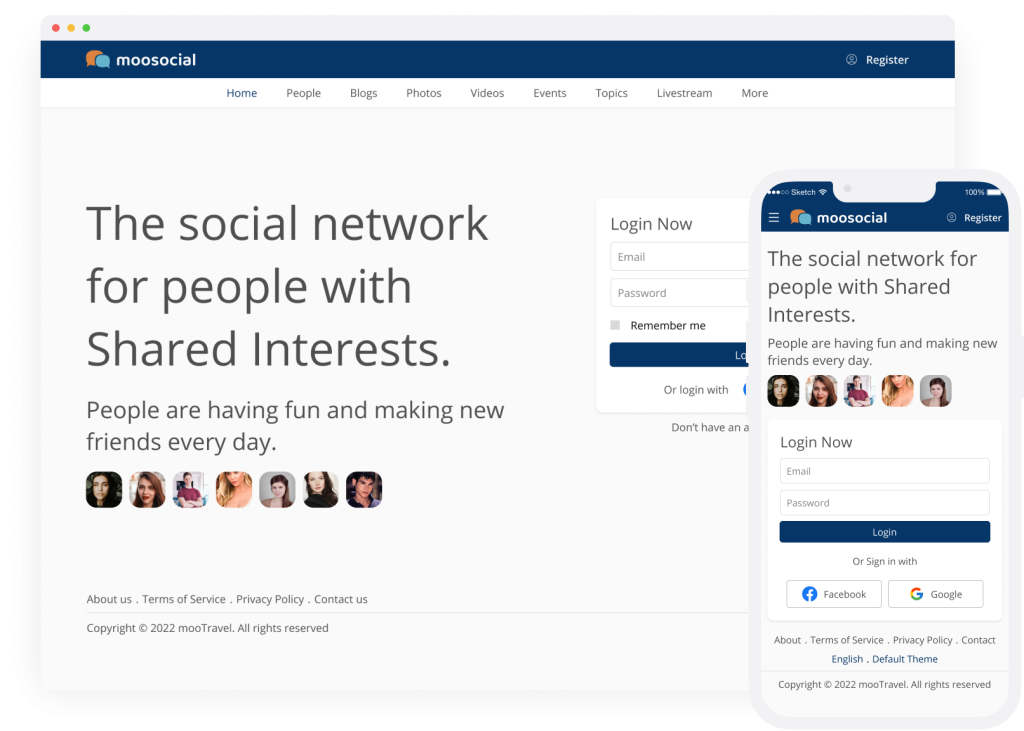
- Added a new setting called “Remove Profile Picture & names from the landing page” to allow admin to hide the newly joined profile block from landing page
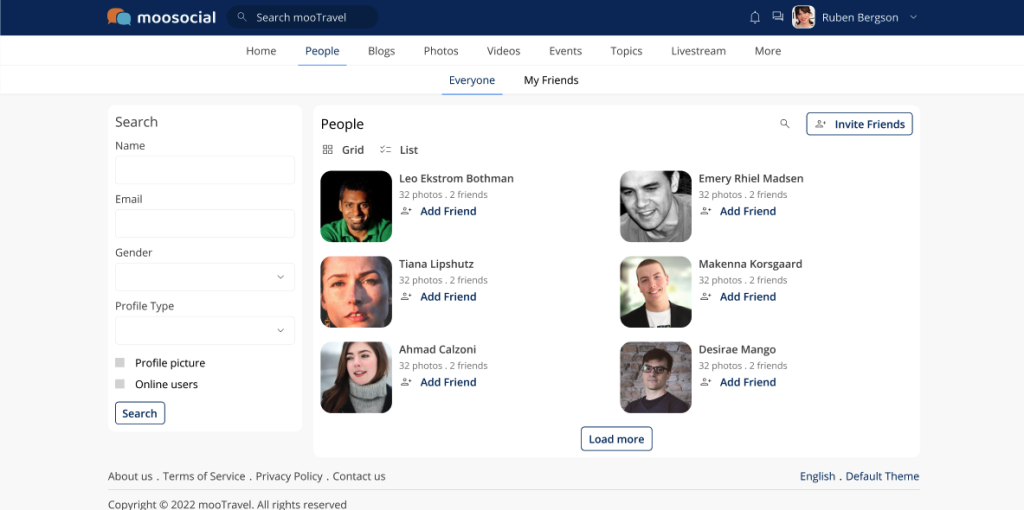
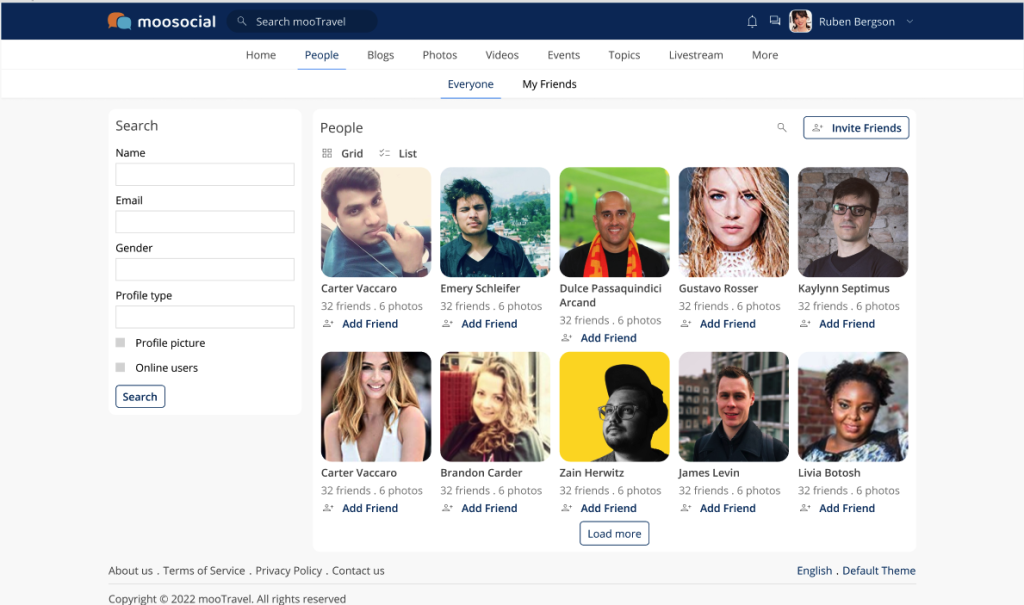
- Hide not approved account from member list
- when a user logs out from anywhere on the site he must always be redirected to site home instead of login page.
- Can search user in admin panel by IP address
- Allowed to attach files into “bulk email”
- If A joined eventA, if someone posted something inside EventA -> A will get notification A also can turn notifications off for a specific event.
- Add a new level : country – state – city. Can add or import cities into a state. Can disable all countries/states at once. Don’t show country/state dropdown box if there is only ONE activity country/state
- Direct message: show read/unread to let user know who has read the message
- Add recaptcha to forget password page to avoid spam
- Better password policies for password field: Passwords need to be at least 6 characters in length and should include at least one upper case letter, one number, and one special character. Admin can enable or disable this thru the setting “Enable better password policies” in admin panel -> setting page
- AWS s3 improvement – upload directly to S3
- These recurring subscriptions need to shut down when accounts are disabled or deleted.
- Don’t allow other admin to edit details of super admin (User id = 1)
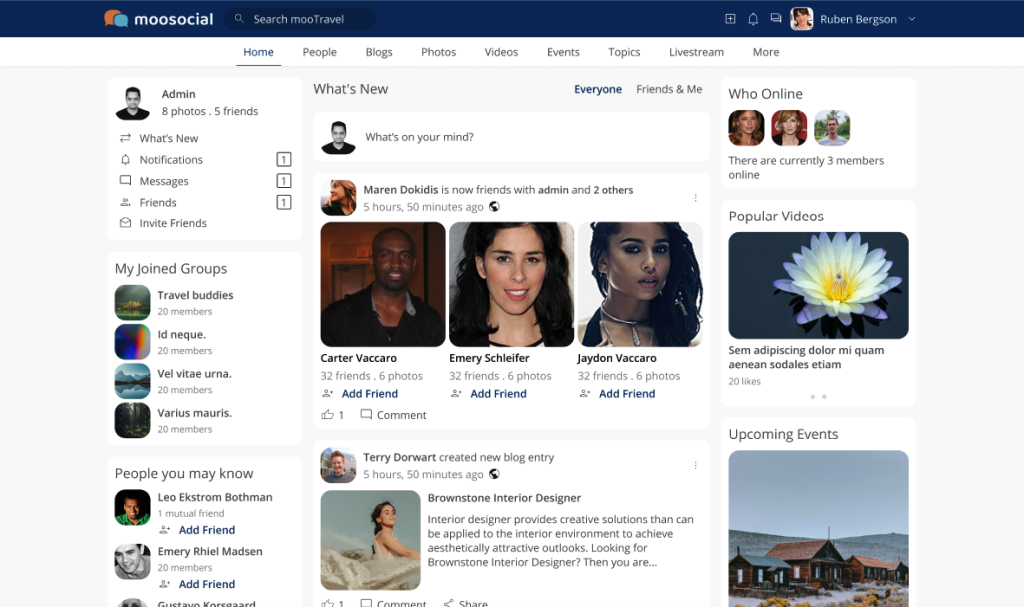
- Add a setting called “Home feed only loads activities that were created/updated (days) ago” to limit the number of feeds that the system will load by time to improve loading speed at home feed. Ex: if you entered “60”, the system only loads the feed that was created/updated 60 days ago.
- Album photo block in profile page: changed it to block to allow admin to drag and drop in thru layout editor
- User manager improvements: Only super admin (id =1) can have full permission and can change user role of all users. Admin or Super admin A can’t edit or delete other admin or super admin. Admin and super admin can edit, delete but does not allow to change the role of other users, can edit profile but can’t change role. In admin panel, user manager, add new column call “Lock delete”, admin can check it on/off to disable delete option at edit profile, only super admin can do this and if a member is locked deleted, only super admin can delete him
Bugs Fixed
- Remove limitation 1k when user searches friends/ members
- If a member renews his membership for 1 year for example, the system will add 365 to their current membership expiration date instead of adding 365 from the renew date.
- Fixed layout issue of menu in member profile page
- Fixed share event issue, when sharing an event, a random text auto appear
- The color bg and emoji appear above the cookies warning message issue
- I changed the password in admin and clicked Change Password, I got a conf mess Password has been changed and I click Ok, but then I get the Change password prompt again. I have to click on another page to get out
- Font size of menu and some text on home is small issue
- Show warning error when user deletes an item that contains reply
- Light theme settings issue
- Send message box issue: if i have a lot of friends, when i type name to search to send message, it show me very long list but i can’t scroll thru all members inside the list
- Search results issue in admin panel: in admin panel, if the search results has more than 2 pages, you click on 2nd page for example, it will reload the page and show full
- Number of likes is incorrect when user views the likes on the photo theater mode
- Global search and plugin search issue
- Cannot install mooSocial on MySQL 8.0
- Summary emails going to deactivated members
- A follow B but A also can see post that B shared with Friend only
- Not verified email yet but still can follow users
- Like action does not work well in group
- reCaptcha doesn’t work
- Images are not displayed in the correct order when upload multiple photo at home feed
- Category permission setting issue
- Fixed some security issues
- Redis cache for multiple sites on same server issue
- Removed option to rotate photo when enabling Amazon S3
- Go to blog category directly using url like https://domain.com/blogs/index/121/academy -> it show all blogs
- Auto trim the email: if you enter email address into login form that includes space -> can’t login issue
- Changed sub scription to Subscription on Subscription setting
- Can post a null comment into blog, topic .. issue
- Fixed some spelling and grammar issues.
- A lot of small issues…
Below are some importance notes for the new versions:
New version is available to download at client area
- All of the paid plugins are compatible with 3.1.7 version.
- Mobile apps version 1.6 is compatible with 3.1.7 version.
- Paid themes: all themes are compatible with 3.1.7 version
- mooSocial cloud: new version will auto update soon for all existing clients.
DO NOT upgrade your live site and mobile Apps until you have a full backup of your site’s files, database and have successfully performed a test upgrade on your development (test) site first.
To celebrate the new version, we have an exciting offer for you, all of our products are running at a huge discount of 15%.
Coupon code: moo317, Expire on 15 Oct, 2022
Regards,
mooSocial Team

