The PWA is only included when you purchase Deluxe package. To enable it please follow the following steps
1. Download the PWA plugin in admincp
2. Install it as a regular plugin (see more details here )
3. Configure the plugin at admincp -> Plugin manager
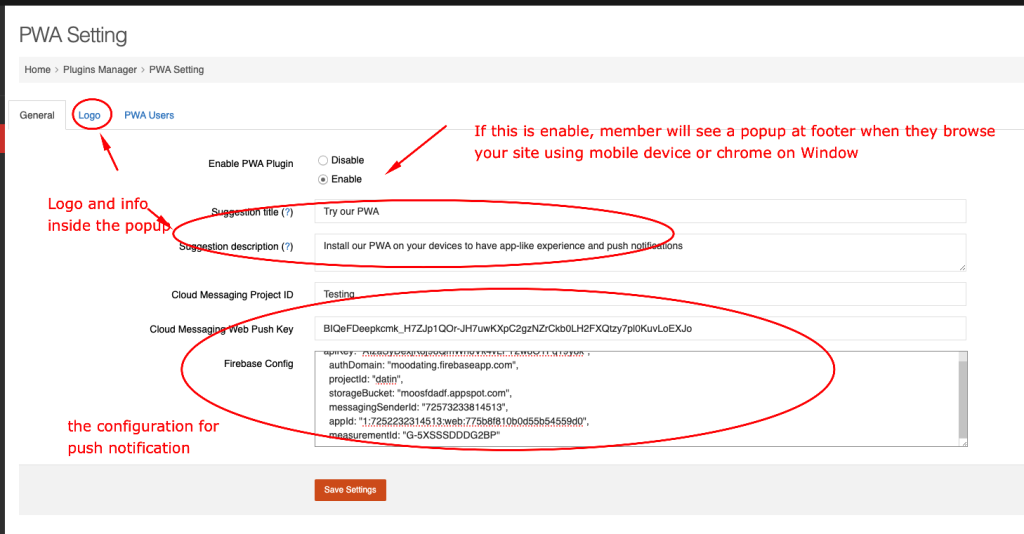
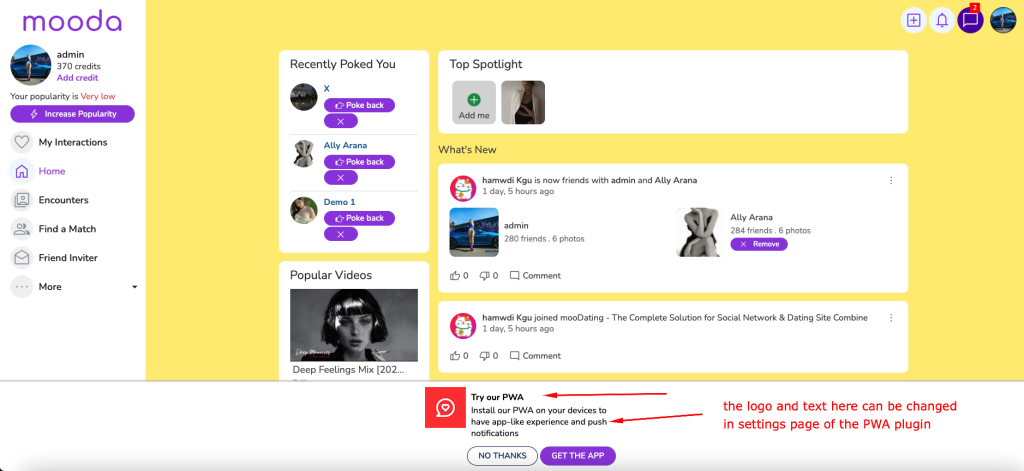
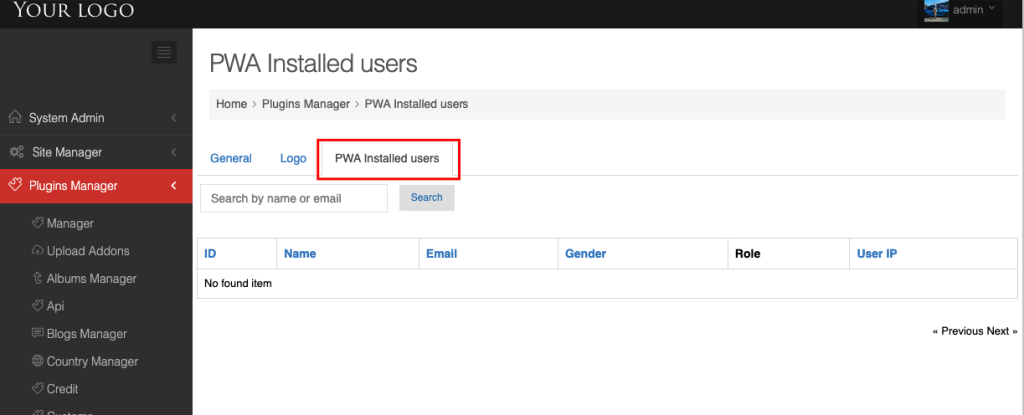
You can check to see how many users have installed the PWA at “PWA installed users” tab in plugin setting page
mooDating includes a plugin called “Fake users” that allow you to create fake accounts. To install this plugin, please go to admincp -> Plugin manager -> manager -> Not installed plugins -> Find the “Fake user” plugin and click on “Install” action to install plugin
After the plugin is installed, you can find it at Admincp -> Plugin manager -> fake user
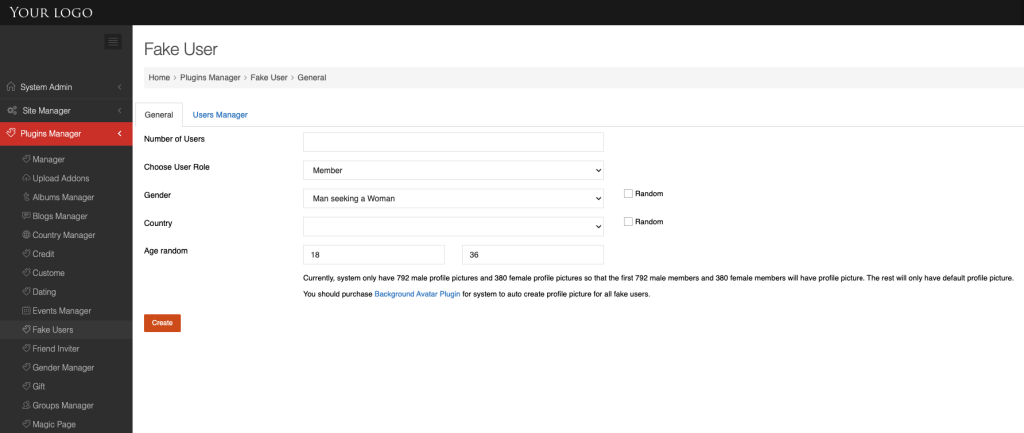
You then can enter number of users you want to create, role, gender, location…..then hit create. System will start adding users. Some info of the fake user like interests, about…will auto generate by system.
mooDatin script’s REST API provides secure JSON REST API for your mooSocial based website. It provides a standardized programmatic interface between your mooSocial based website and outside applications, thus enabling all types of integrations with external applications and development environments.
For api document: please check here
You can purchase a license from out website here
- One license can be used one domain only, means you need a license for every domain.
- 2 month Free support is included inside the pricing and you can extend more later at client area.
- You are not allowed to redistribute or resell mooDating in any way.
- Our timezone is gmt+7 (Mon-Fri from 9am -> 18PM), Ticket/request will response within 24hrs and a bit delay at weekend and holidays
